Home»Tech Guides»Get Screenshots from Video using VLC
Have you ever wanted to automate extracting screenshots from a video? We will show you in this guide how to do so automatically using built-in features of VLC player.
Why extract frames/screenshots from a video?
Why would you want to do this in the first place? Maybe you need to get many high quality still images from the video to use as promotional material for your social media, or a thumbnail for a YouTube video.
But at the same time, maybe you don’t want to scrub through dozens of hours of video searching for that particular moment you remember you filmed a while ago.
Download VLC media player
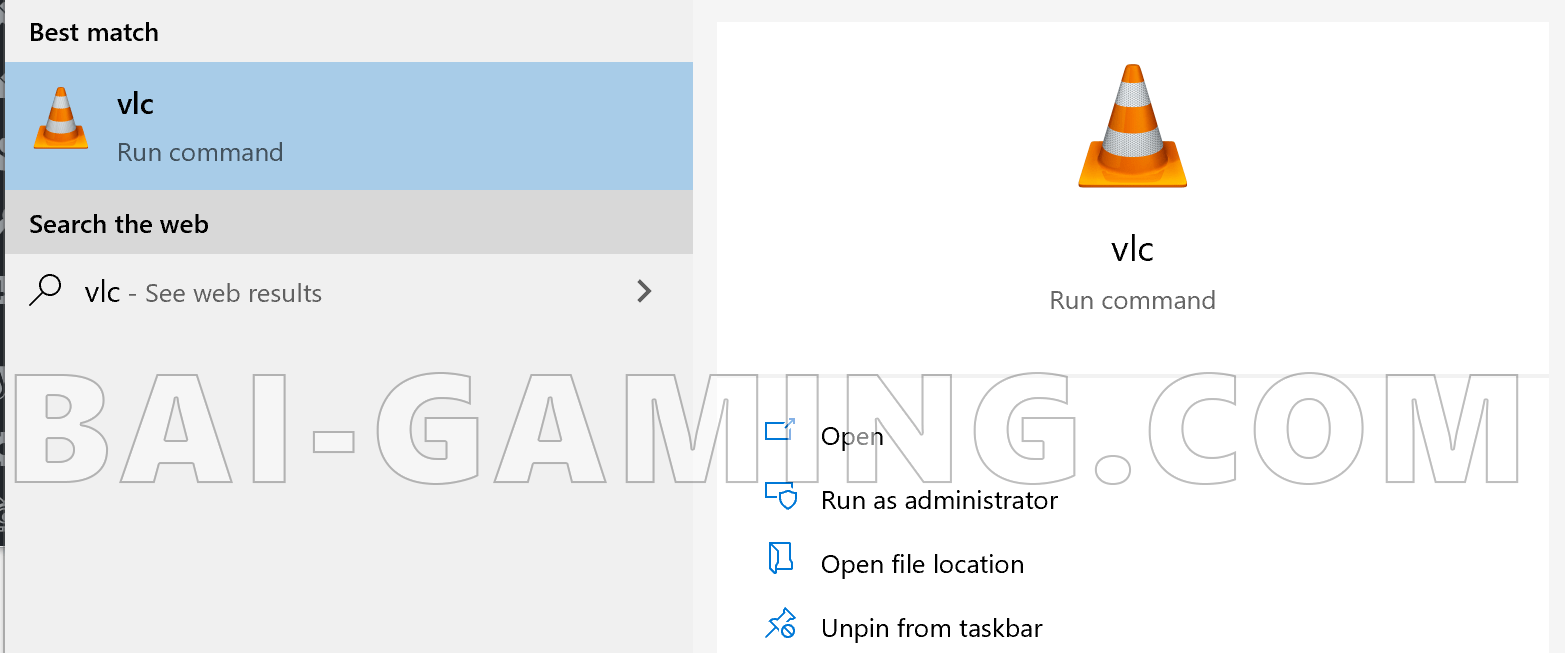
The first step is to download VLC from https://www.videolan.org/vlc/index.html
It is an open-source multimedia player and is my favourite to use on new computers. If I’m at home and bought a new PC, or if I’m at a new workplace, VLC is always my go-to video-player.
Enable settings to extract the frames/screenshots in VLC
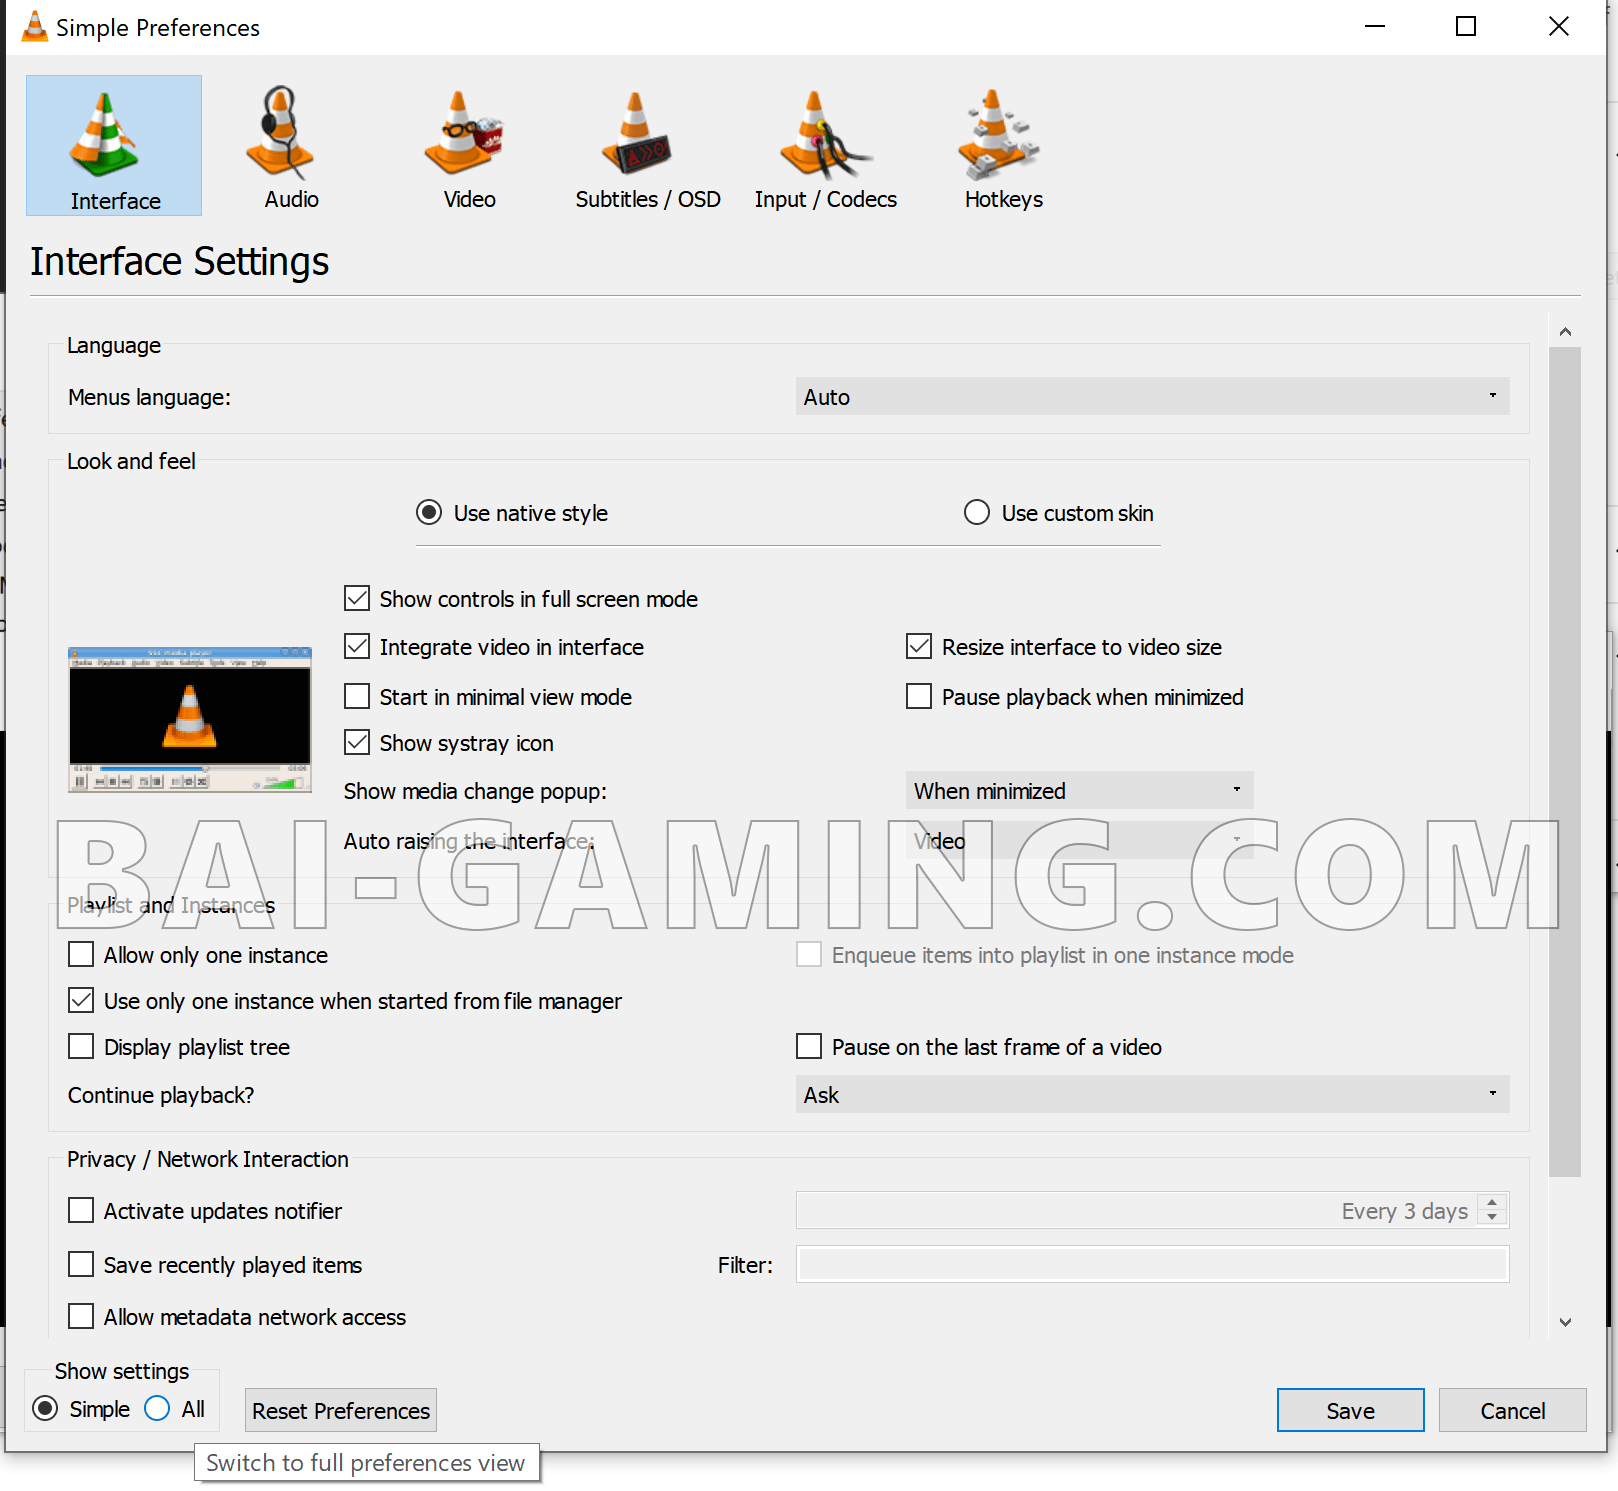
Afterwards, go to Tools » Preferences

Under “Show Settings”, click “All”
In the menu, under “Video”, click “Filters”. Then in the right-hand menu, check the “scene video filter”.

Expand the Filters menu using the dropdown, and select “scene filter” in the menu. You can now customize how you want your picture files to be. You can choose between image formats like .png or .jpg, choose the filename prefix, and the directory path.
In general I enter the directory path to be C:/Users/USERNAME/Pictures, where USERNAME is your computer’s username, or sometimes I select an external hard drive if I know I’m going to be dealing with hundreds of gigabytes of video.
Recording ratio is the most important option, it is basically the frequency at which it turns the video into pictures. In general, the lower it is, the more screenshots you will obtain, with 1 being you obtain a screenshot for each frame of the video.
Usually you don’t need this to be so high, and setting it high will take up hard drive space quickly and also take up CPU usage. Now, what you want this to be depends on the framerate of your video, usually it’s 30 or 60 FPS.
Let’s say I want a screenshot for every 20 seconds of video for a 60 FPS video, then I do 60 times 20 = 1200, and that will be the recording ratio I input into VLC.

Run VLC as administrator or it won’t work at all!
There is one more catch, though! Make certain to run VLC as administrator, otherwise it won’t work at all. Also, if you make changes to the file type, recording rate, etc, you need to save those settings, then restart VLC and run it as administrator again, otherwise your changes won’t be used, so be careful!
After getting the frames/screenshots, turn it off!
Quick warning, make sure to uncheck “scene video filter” to stop making screenshots when you play a video! Otherwise if you watch other videos to relax, your computer will keep making screenshots, and you’ll use up all of your hard drive space and your computer will get slow and crash. I’ve seen this happen with a lot of my clientele often.
If you have a long video or a series of videos, I find it best to just run them all overnight and come back in the morning to the screenshots.
In the past I’ve worked with data scientists who had to turn all their videos into exact frame screenshots for legal record-keeping purposes, usually for the government, and they’d have dedicated computers and “computer farms” whose sole purpose was to just crunch videos down into perfect frame images, which would then be physically printed and locked into a safe.

Click here to return to our Tech Guides page.