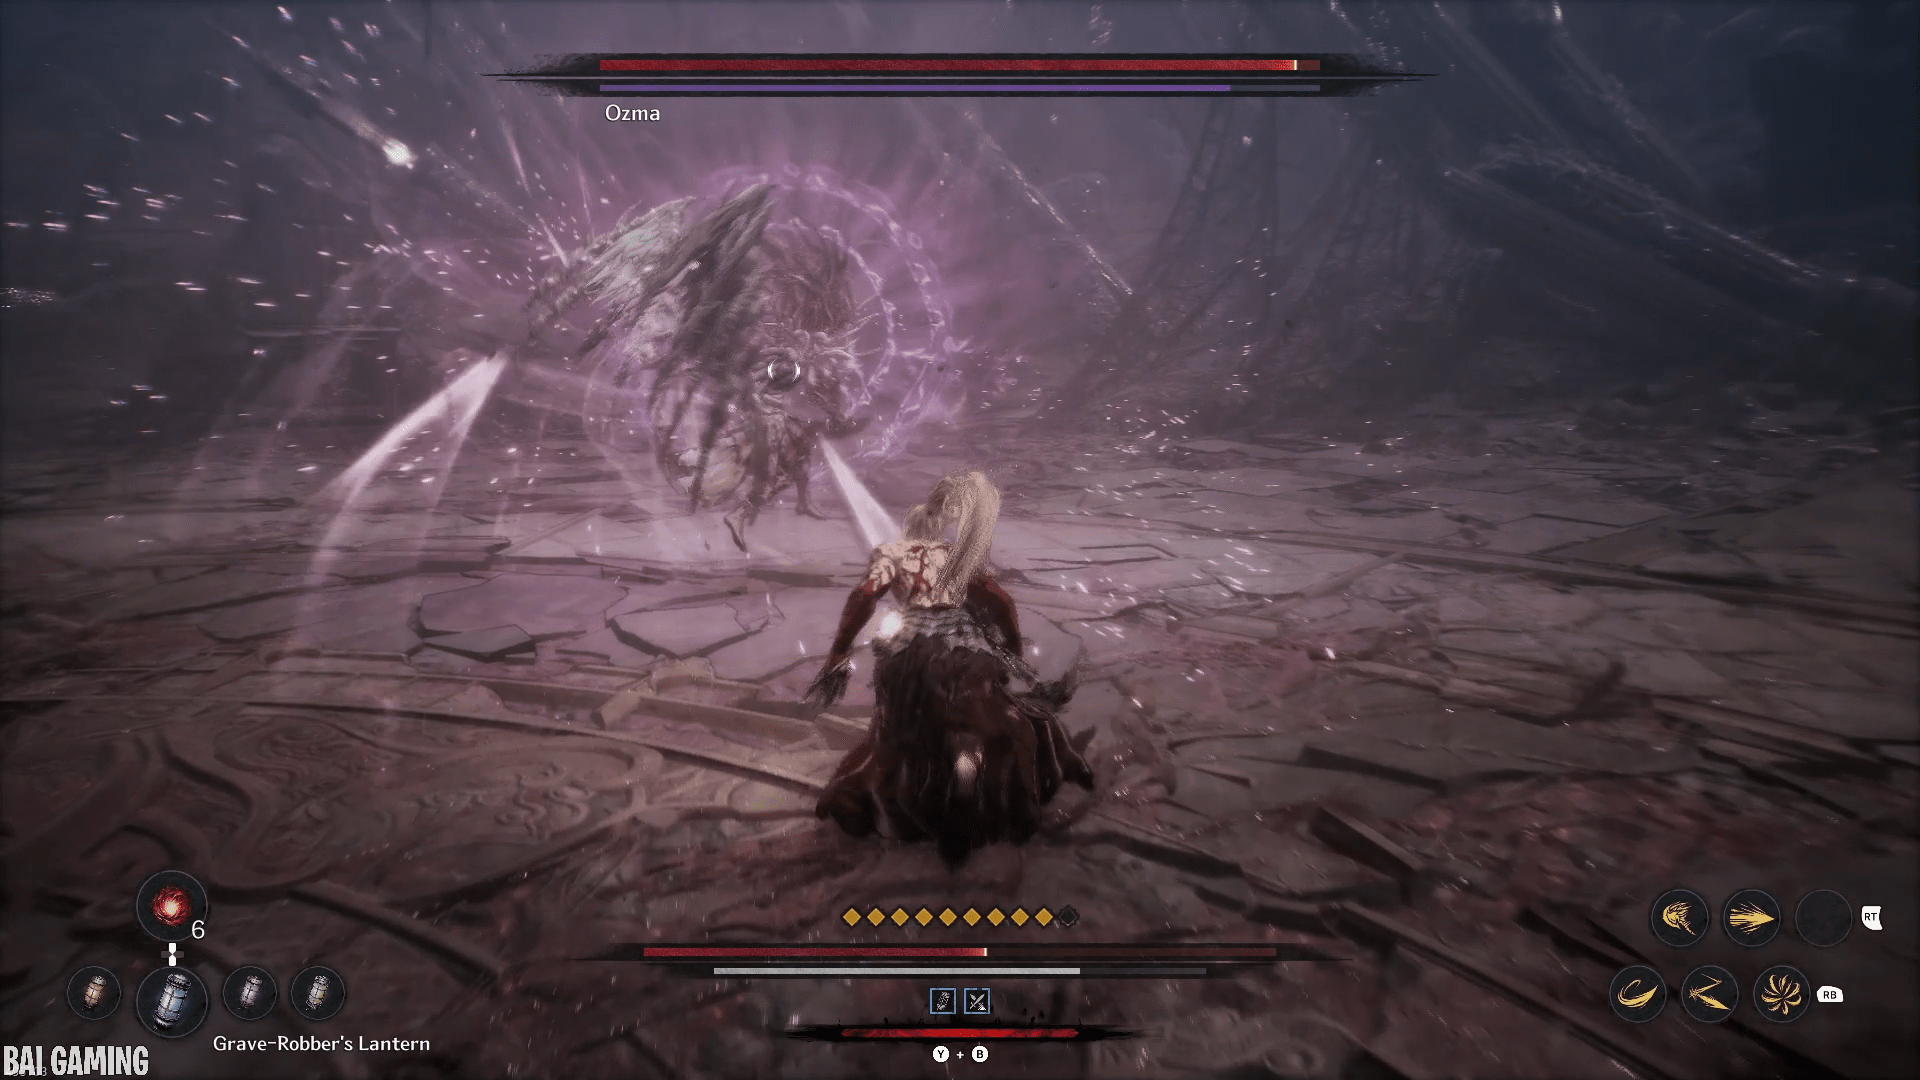
How to Beat Ozma – The First Berserker: Khazan (ALL of his moves explained!)
We’ll explain how to beat Ozma. You’ll learn how to dodge or parry all of his attack patterns throughout all of his phases. We won’t recommend a specific build — this guide will work for any kind of build and weapon type (just try to be light to dodge faster). We’ll have pictures to illustrate all of his possible attacks.
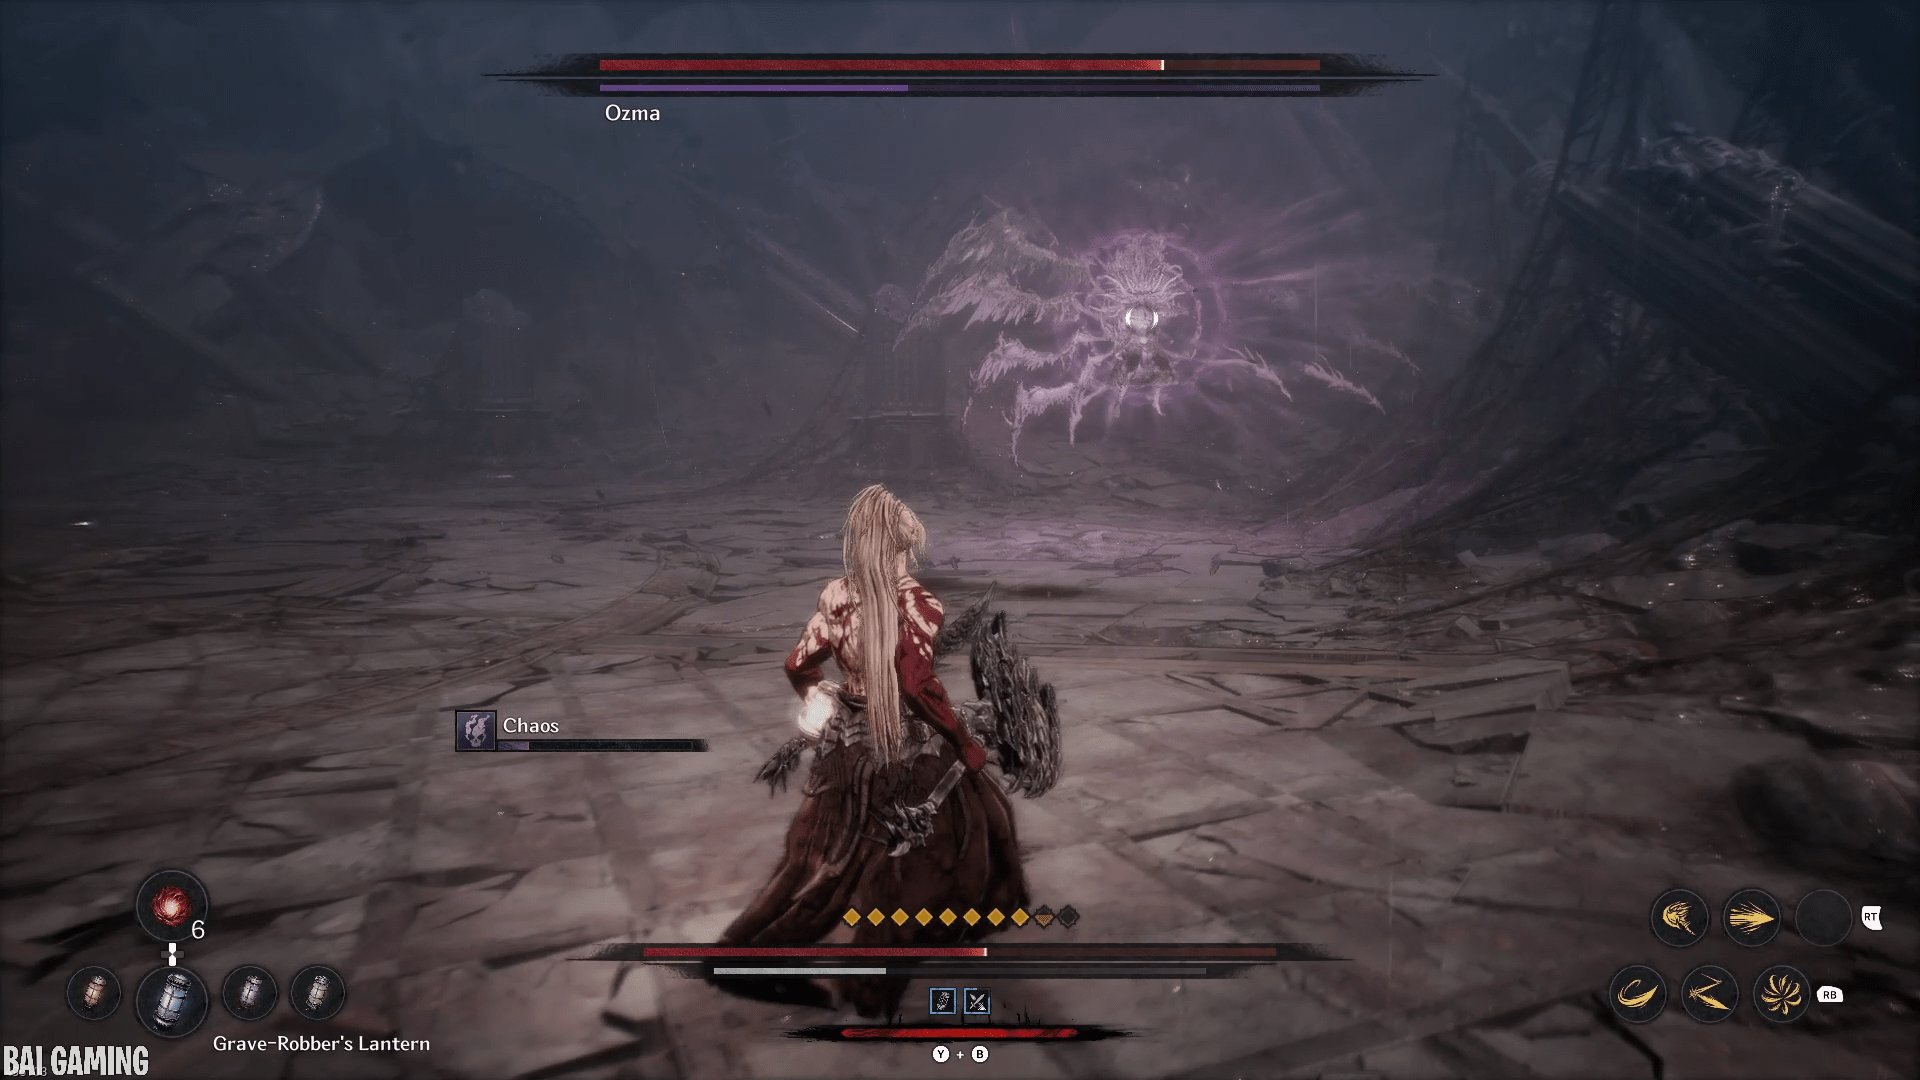
Ozma’s First Phase

To dodge his horizontal chaos line just dodge perpendicularly (left or right). I don’t recommend parrying the chaos moves, the chaos still accumulates quickly as an ailment and it’s a very debilitating ailment. Make sure to dodge it perfectly.

To dodge his ice line just dodge to the left or right. This move is a bit slow and he winds it up a bit, so wait until you’re sure it’s about to come out before dodging. Make sure to dodge it because it causes ice ailment buildup.

He shoots a line of fire towards you. This attack is fast, so dodge it very quickly, either to the left or right. It causes fire ailment so just dodge it.

If you’re punishing him too much early on he will pull out his sword and do just 1 slash. He winds up his sword behind him before committing to a single slash. You can purposely bait out this attack and perfect block it, but only if you’re playing very aggressively.
This is only if you’re hitting him constantly and he uses it to push you away, normally he does a two sword slash instead.

He will throw a chaos javelin at you that hits the floor.
Early on in the battle he will only “charge it up” once (you see him raise the chaos javelin above him and then he pumps it up once with energy early on). It’s possible to parry it, but I didn’t doing so due to the chaos ailment and the high risk of accidentally doing a normal block instead of a perfect block.
Instead, I found the easiest way to dodge it was to lock on to the boss (who will be in front of you) and just dodge forwards, you’ll then dodge the chaos projectile. One small problem is that if the boss is too close to you it messes up your dodge, so in that case quickly turn off the lock-on for the boss and just dodge forwards.
Later on in the battle he charges up the javelin more and more before throwing it at you.

Sometimes he will shoot 3 smaller chaos javelins at you. Just dodge in one direct before they hit you like the chaos javelin above.

His normal sword move early on is two sword slashes. For his first sword slash he winds up the sword behind him then slashes you. Then for the second slash he backs up, then winds up the sword behind him, then slashes you.
Learn the timing because these sword slashes are very easy to perfect block or even reflection parry.

He will do one sword slash that you can counterattack. Wait, and right before he’s about to hit you do the counterattack (LB and B/circle). Make sure to master this because you can do easy damage afterwards.
Sometimes he will go straight at you and slash you, and other times he will try to fly around you and then hit you so watch his movements. He often curves around you after shooting chaos projectiles at you so be aware of the differences.

This move looks fiery but isn’t his actual fire move. Instead he plunges his sword into the ground with red swirls. The surrounding circle of ground around this will erupt causing damage.
The easiest way to deal with this is to back off quickly. You can try getting a hit in then running but be careful. You can even just keep hitting him, then perfect block or dodge the ground explosion but the timing can be tricky and I didn’t see a “flash indicator” for when the ground will erupt.

These tiny chaos projectiles aren’t bad. You can try dodging several times in one direction, or try dodging left, right, left, right as the projectiles each pass by you. They don’t do too much damage and only cause small chaos ailment buildup.

There are bigger chaos projectiles he will shoot at you. Just dodge in one direction and you’ll dodge most of them. I don’t really recommend parrying these because of chaos ailment buildup.

He will surround himself in a wall of fire. Back away quickly.

After he will surround himself in a wall of fire. This will shoot out several waves of fire towards you.
Either back off and space yourself between gaps from the waves of fire or just perfect dodge right through an oncoming wave of fire.

For this move, stay calm. Wait for him to do his animation and look for a “flash”. As soon as you see the flash (shown above) either perfect block or dodge,
I recommend dodging as soon as you see the flash. If you do it perfectly you’ll take no damage.

When you damage him a lot in the first phase he will start using more sword moves with his wings as well.
He will slam down onto you first. Then he does 2 big slashes with his wings, then finally a big wind-up and a wing attack that does a line of chaos.
Note: Sometimes he seems to re-adjust himself, so he may add more moves into his wings combo. If you see him move to the left or right to reposition himself he will add more regular wing attacks into his combo.
The best way to deal with this is to learn the timings and perfect block all of the wings except for the very last wing attack that releases chaos.
For that very last move in the combo I recommend dodging it to prevent chaos buildup. The only thing is that it has a surprisingly long wind-up so wait a bit then dodge at the very last minute, and then you can punish him.

He will make a barrier of chaos around himself in a circle that explodes. Run away to avoid. It’s like his wall of flames move. It will release waves of chaos, I recommend finding gaps between them to go into.
This move leaves tornados of chaos that will last a little while while he continues to use moves on you.
He hangs out in the chaos which makes getting to him tricky. If you throw a javelin at him, he will get triggered and attack you with his sword which gets him towards you and out of all the chaos tornados.

He will still throw chaos javelins at you, but later in this phase he will now charge up the javelin more so adjust your timing accordingly. Again I found dodging forward to be the easiest way.

He will plunge his sword into the ground and chaos will be around him. The ground will erupt after a few seconds. Run away from this. It’s possible to perfect block or perfect dodge the ground eruption but the timing is tricky.

He does a move where he prepares a giant chaos javelin where he flies and you can’t reach him. This move is long so just wait it out.
First he will try to swing at you once with the giant javelin. It often misses naturally but if you see him flying towards you just dodge through it, it’s very easy to dodge.
He will then spam projectiles at you. Just keep dodging to the left or right.

For the final part of this move he drops a ball of light into the ground. You can either perfect block or dodge at the right moment. I recommend dodging right when you see the ball of light about to hit the ground. If you time it right you’ll take no damage and you can punish him after.
Ozma’s Second Phase

He does a 3 hit combo with his wings. Here (from your POV) it’s his left wing twice, then his right wing. (The left wing hits you, then comes back to hit you again, then the right wing hits.) The timing is easy so you can learn it and perfect block.

He charges towards you. You can learn the timing and perfect block it right before he hits you, but you can dodge it as well. Early in this phase he only does it once at a time, but later on he charges more times in a row.
Here he blasts you with a wave of air. You can easily dodge to the left or right but just learn the timing, he spends a second to charge it up and then blasts it, so if you dodge too early you’ll still hit it. Early on in the phase he does the ram then this move.

Now, he prepares his right wing that leads into the 3-wing combo above.
So for this you see him spread out his right wing.
He then claws into you with his right wing.
Then his left wing hits twice (hits once, then when it returns it hits you again), then the right wing hits you. This is the 3-hit wing combo from before.
Now he follows this up with another attack with the symbol showing that you can counterattack him. Be careful with the timing, he will fly towards your left side for a while before he flies toward you to attack you. He’s slow flying to the side, but after he will fly towards you quickly so learn the timing and do the counterattack (LB & B/circle). I recommend you do the counterattack to punish him.
Later in the phase he will not let you do the counterattack anymore and he’ll instead follow up this combo with other attacks instead.

He will shoot waves of chaos at you.
It consists of 2 waves containing 2 slices, then many vertical slices of chaos.
It looks tricky to dodge but I found a consistent method to deal with it (do NOT spam dodge). Make sure you have space around you for dodging.
Stay calm. Wait for the first 2 slices appear and the first one is about to hit you. Dodge to the right and you’ll dodge the two slices fine. Now repeat this, he will make 2 big slices and the first one will be heading towards you, so dodge to the right again as it’s about to hit you and you’ll dodge both.

The last part of this move will have him shoot out vertical slices of chaos that head towards you. This is fast and hard to dodge. I recommend holding block (L1/LB) to make your movement slower. Then carefully try to find a gap in the waves to walk into and the slices will pass through you no problem. The timing is tight and if you’re backed into a wall you might not have space to move.
If you see him far away and stretch out his right wing he will fly at you and hit you with his wing 3 times in a sweeping flying way (he flies to you, hits with wing, flies away and flies towards you again, hits with wing, flier away and flies towards you, hits with wing).
These are easy to perfect block, just watch him fly and as his wing is about to connect do a perfect block.

This giant chaos sword is his worst combo.
It is a: big swipe, big swipe, and a downwards plunge that hits twice.
I recommend having your stamina full before it and just blocking through it and healing after. The chaos buildup is terrible but it’s very hard to dodge and perfect block. The last move where he downward plunges and then does another hit is very hard to anticipate as well due to visual overload.

If his fists glow he will do a air blast. Just dodge to the left or right.
Then he will pull you in a little. You can’t avoid this but it doesn’t deal damage.
After pulling you in he will fly to you to punch you. I found this easy to dodge.

If you see his wings glow after a regular combo he will grab you. Make sure to dodge this (you need to dodge grabs) or it does a lot of damage. It looks confusing because you’ll probably be blocking his normal wing attacks which you should do, but if you see him suddenly with glowing wings dodge it. It’s different than the regular wing attacks.

If you deplete his stamina bar he will release a blast from his body that will damage you when he recharges his stamina. You can get a few easy attacks in but be sure to back off after a few seconds because it will deal damage and it is surprisingly big.

He will fly out and shoot many projectiles at you. Here’s a guaranteed way to dodge them.
The projectiles come out in 3 waves. Position yourself to the left.
For the first wave sprint to the right for the smaller projectiles, then dodge right before the final bigger projectile hits.
For the second wave now sprint to the left for the smaller projectiles, then dodge left before the final bigger projectile hits.
For the third and final wave now spring to the right for the smaller projectiles, then just dodge right before the final bigger projectile hits.
He will then plunge into the ground, just dodge it it’s telegraphed. Then you will see the ground about to erupt.

The ground erupts after a few seconds but I found a trick. You can actually attack him before the ground erupts, then when the ground is about to erupt you’ll see a big flash, now dodge or perfect block (I just dodge) and you’ll avoid eruption damage.
He did ground eruption in earlier phases but it never had a flash before, with this flash now present it’s very easy to dodge it. You can also run away from the eruption, but I strongly recommend actually staying within the eruption and dodging because you can deal a lot of easy damage to Ozma.

If you see him punching towards you, he does a punching combo. It’s easy to perfect block these but you can dodge them too.
It consists of: 3 quick punches, then an air blast. I recommend perfect blocking the 3 quick punches, then dodging to the right for his air blast.

If you see swirls around his right hand, he’s going to rush towards you and grab you. Dodge it! He really rushes towards you quickly so watch out for it, it’s almost like he teleports towards you. It’s his fastest move.

He will make 5 chaos tornados where you’re standing that will persist for a few minutes. You can just naturally sprint through them or if you want dodge them.
This attack is surprisingly easy to avoid but for a good reason! I think you should purposely go to the corners of the field and let him make his tornados. These tornados will last for a few minutes, so best let them be spawned where you’re not fighting. Do NOT go into the center of the field when this attack happens otherwise you’ll split the map in half.

He charges them up for a few seconds before shooting them. You don’t even need to move around, just look out for a flash, and as soon as he flashes just dodge to perfect dodge through it.
He will use more lasers after too, but I found you can rush him after the first laser attack and he’ll stop using them.

When he spawns a black hole wait for it as it’s about to hit the ground, then dodge. It will have a gravity field that makes you move towards it, so just sprint in the opposite direction.

He shoots lasers at you from his eyes, especially after the black hole attack. He does them twice in a row. Just dodge them. They’re fast but easy to dodge. They leave a line of chaos behind – you can try to angle it so that the lines end up near the corner of the field but it’s very fast so don’t worry if you can’t.
(He’ll often do 2 charging ram moves after the lasers, easy to perfect block or dodge. Then he does an air blast, easy to dodge.)

After combos later in this phase he will often jump into the air and then jump into you to crush you with his wings (it’s a downward wings attack). If you can perfect block it it will stun him and you can punish him severely. But if you can’t just block normally or dodge it.

Near the end of this phase he will fly up and launch a spear towards you. This is easy to dodge.
The spear will then cause the ground to erupt near it. You need to run very quickly away from this and the timing is tight.
Keep an eye out for Ozma as you run away from the eruption. Ozma will very soon charge at you with the sword combo mentioned earlier. Try your best to endure it.

He does a move where he jumps into the air and punches the ground 3 times.
It’s easy to dodge but it looks very flashy because of projectiles as well.
Just dodge each time he punches the ground and move a little bit away. What happens is that a ball projectile will hit where he was earlier and explode, but just move away a little bit (don’t punish him when he hits the ground the first or second time) and you’ll avoid the blast.
When he hits the ground the third time, you can dodge it and then punish him. But watch out because the ground will erupt and hit you again. Either run away or just look out for a flash, as soon as you see a flash you can dodge and avoid the eruption damage even if you’re in the middle of it.

He will shoot ball projectiles at you. First it’s the left ones, then the right ones.
To dodge it just dodge left, then dodge right.
After he will launch 2 balls into the air. Just dodge normally.
He will strike the ground after with his wings, either perfect block or dodge if you’re unsure.
*One last note, he will also sometimes spawn a healing crystal to heal him. Quickly go to it and destroy it or else he will heal a significant amount of health! Watch out, the crystal does shoot waves.
Ozma’s Third Phase
*This phase only occurs on the true ending route
His third phase is very similar to his second phase, except that he strings together combos of his moves more randomly and less in a pattern. If you master his second phase you can destroy his third phase too. Most importantly, to win the third phase just deplete his stamina bar 3 times. Each time you do an attack with his stamina drained it permanently destroys 1/3 of his health bar. If you don’t do this he will regain his health.

He will randomly charge at you and you’ll see the symbol appear. Stay calm and counterattack (L1 & Circle/B) as soon as he’s about to connect with you.
He even does this at the very beginning of the battle and he charges at you fast so be careful. You need to master this timing to beat this phase easily.
For us, this counterattack depleted a lot of his stamina bar, which you need to do 3 times to defeat him.
He does this move a lot and it deals a lot of stamina damage. So if you want to play defensively during this phase you actually can and just try to bait out this attack.

One random new attack he gets is a pink projectile attack. Just dodge normally as the projectiles are about to hit you.
Recent Posts